
When you decide to refresh your kitchen with a cabinet repaint, the focus is often on the new color and the smooth finish. However, a crucial, often overlooked, aspect of a professional cabinet transformation is the handling of “cabinet hardware during a repaint.” The small details—hinges, pulls, and knobs—play a significant role in the overall aesthetic and functionality of your refreshed cabinets. Mishandling them can lead to a messy, unprofessional result or even damage.
At Pro Tech Painting, we emphasize a meticulous approach to every step of cabinet painting, including the careful removal, protection, and reinstallation of hardware. Our process ensures that your hardware is either preserved, updated, or reinstalled flawlessly to complement your newly painted cabinets. This guide will walk you through what exactly happens with your hardware and hinges during a professional cabinet repaint, highlighting why these details matter for a truly finished look.
💡 Key Takeaway: During a professional cabinet repaint, meticulous handling of hardware and hinges is crucial. This involves careful removal, organized storage, and a deliberate decision on whether to reuse, replace, or refinish these components, all of which significantly impact the final aesthetic and functionality.
Initial Steps: Removal and Inventory
1. Complete Removal of Hardware
The first, and non-negotiable, step in a professional cabinet repaint is the complete removal of all hardware:
- Knobs and Pulls: All decorative knobs and pulls on cabinet doors and drawer fronts are carefully unscrewed and removed.
- Hinges: Cabinet doors are detached from the cabinet frames, and then the hinges are removed from both the doors and the frames. This ensures full access to all cabinet surfaces for proper cleaning, sanding, and painting. It is virtually impossible to achieve a truly professional, smooth finish if hinges remain attached, as paint will inevitably build up around them.
- Specialty Hardware: Any other attached hardware, such as soft-close mechanisms, drawer slides, or magnetic catches, is also removed as needed.
2. Organized Storage and Labeling
To prevent loss and ensure smooth reinstallation, meticulous organization is key:
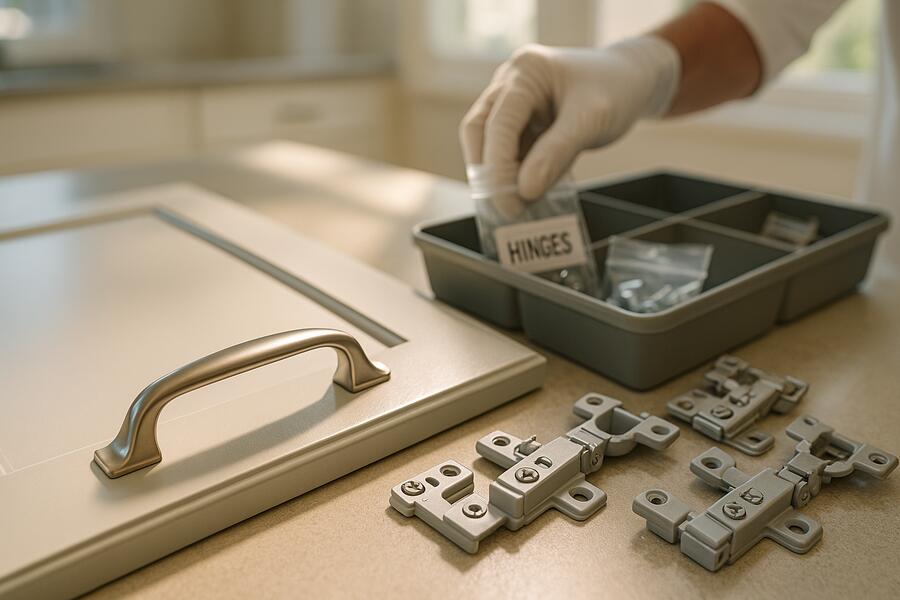
- Bagging and Labeling: All screws, hinges, knobs, and pulls are placed into clearly labeled plastic bags or containers. Labels indicate which door or drawer they belong to, especially crucial if your cabinets have unique hinge types or different hardware for various sections.
- Secure Storage: These labeled containers are stored in a safe, designated area, away from the work zone, to prevent them from being misplaced or damaged during the painting process.
💡 Key Takeaway: A professional cabinet repaint always begins with the complete removal of all hardware, including knobs, pulls, and especially hinges. This allows full access to cabinet surfaces for an impeccable finish. All removed hardware is then meticulously organized, labeled, and securely stored to prevent loss and ensure correct reinstallation.
Decisions and Execution: Reuse, Replace, or Refinish?
3. Assessing Existing Hardware: Reuse or Replace?
Once removed, this is the ideal time to evaluate your existing hardware:
- Functionality: Are the hinges still in good working order? Do they squeak, sag, or feel loose? Are the drawer slides smooth? If not, replacing them might be a good idea for improved functionality.
- Style: Does the style and finish of your current knobs and pulls still align with your desired aesthetic? A fresh paint color might call for an updated hardware style to truly complete the look.
- Budget: Replacing all hardware can add to the overall project cost. Discuss options with your painter. Sometimes, simply updating knobs/pulls while keeping functional hinges is a cost-effective compromise.
4. Options for Hinges: Leave as-is, Paint, or Replace
Hinges present a specific set of considerations:
- Leave as-is: If hinges are in good condition and their color/finish is acceptable, they can be cleaned and reinstalled without further treatment. This is common with hidden European-style hinges.
- Painting Hinges: If visible hinges are functional but a dated color, they can be painted to match the new cabinet color. This requires thorough cleaning, sanding, and the application of a metal-specific primer before spray painting with a durable topcoat. It’s a labor-intensive process but can save money over full replacement. This method is often chosen for kitchen cabinet painting phoenix az projects where homeowners want a completely cohesive look.
- Replacement: If hinges are old, worn, or you want to upgrade to soft-close functionality, replacement is the best option. Measure carefully to ensure new hinges fit existing holes or determine if minor modifications are needed.
5. Holes and Updates
A repaint is the perfect opportunity for minor layout changes:
- Filling Holes: If you’re switching from knobs to pulls (or vice versa), or relocating hardware, existing holes can be filled with wood filler, sanded smooth, and painted over, making them invisible. This creates a seamless canvas for new hardware placement.
- Drilling New Holes: New holes will then be precisely measured and drilled for the updated hardware.
| Hardware Type | Professional Approach During Repaint | Key Considerations |
|---|---|---|
| Knobs & Pulls | Removed, stored, then reinstalled or replaced with new. | Evaluate style and finish; fill old holes if changing location/type. |
| Hinges (Visible) | Removed, then either cleaned/painted, left as-is, or replaced. | Functionality is key; painting requires metal-specific primer for durability. |
| Hinges (Hidden/European) | Removed and stored, then reinstalled as-is. | Usually not painted as they are concealed; focus on functionality. |
| Drawer Slides/Specialty | Removed as needed, then reinstalled. | Never painted; check for functionality and smooth operation. |
💡 Key Takeaway: Utilize a cabinet repaint as an opportunity to assess existing hardware for functionality and style. Hinges can be left as-is, professionally painted (requiring metal primer for durability), or replaced for improved functionality. Old hardware holes can be filled and new ones precisely drilled for a seamless update.
The careful handling of cabinet hardware and hinges is a testament to the detail-oriented approach of professional painters. It’s not just about applying paint; it’s about ensuring every component contributes to a flawless, functional, and aesthetically pleasing final product. By understanding these steps, you can appreciate the comprehensive nature of a professional cabinet repaint and confidently discuss your hardware choices with your painting contractor, leading to a truly transformed kitchen that delights for years to come.
Have questions about how to scheduling commercial painting around business hours? Reach out to our team today.
Frequently Asked Questions About Cabinet Hardware During Painting
Can I paint my hinges while they are still on the cabinets?
While some DIYers attempt to paint hinges while attached, professional painters strongly advise against it. Painting hinges in place inevitably leads to paint buildup, uneven coverage, sticky joints, and an overall unprofessional look on both the hinges and the cabinet surfaces. For a durable, smooth, and clean finish, all hardware, especially hinges, should be removed prior to painting.
Do I have to buy new hardware when I repaint my cabinets?
No, you don’t always have to buy new hardware. If your existing knobs, pulls, and hinges are functional, in good condition, and their style/finish still suits your taste, they can be cleaned and reinstalled. However, a repaint offers a perfect opportunity to update hardware for a fresh look, or to replace old, worn hinges with modern soft-close options, which can significantly enhance the cabinet’s functionality.
What kind of paint is used to paint hinges?
If you choose to paint your hinges, a durable, metal-specific paint system is required. This typically involves thoroughly cleaning and degreasing the hinges, followed by the application of an etching or bonding metal primer. After proper drying, a hard-wearing, often oil-based or epoxy-based, spray paint designed for metal is applied in light, even coats for a smooth and durable finish. Regular latex paint will not adhere well or last on metal hinges.
How long do I need to wait after painting hinges before reinstalling them?
Allow ample time for painted hinges to fully dry and cure before reinstallation. While they may be dry to the touch in a few hours, it’s best to wait at least 24-48 hours, or even longer depending on the specific paint product’s instructions, to ensure the paint has hardened sufficiently. Reinstalling too soon can cause the paint to chip, scratch, or stick, compromising the finish.
